eg. 4 cm -I – 2.5cm – I- 4cm-I – 2.5cm I
– 4 cm
(I = holes for lacing.) as in below middle.
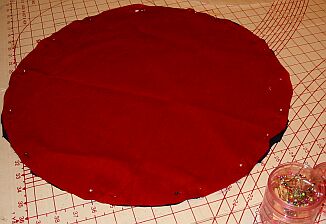
5. Above is an example of the lacings from the A&S
Championship pouch I made this year. The holes were made by
using an awl (you can try a metal knitting needle) to force
open the fibres, to make the hole for the 'eyelet'. This was
then sewn with buttonhole stitch to stop it fraying. On my
purple velveteen pouch, I used beeswax to 'seal' the
velveteen so it would not fray as much.
6.
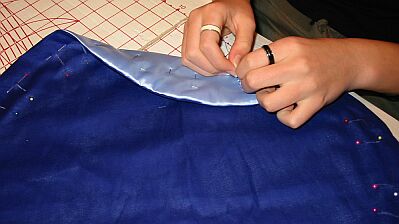
Next I would suggest you do any decorations you wish.
Tassels seem to be popular. Look at drawings and woodcuts,
to see what style is in your preferred timezone.. These seem
to show more pouches than portraits.
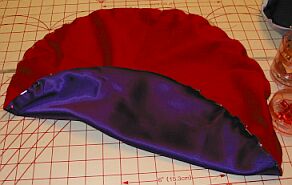
7.
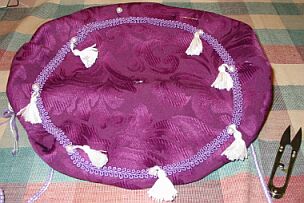
Far Left: how the lacing is done. I used handmade cord. This
picture may help show the spacings for the lacing.
This pouch has buttonhole shaped lacing eyelets.
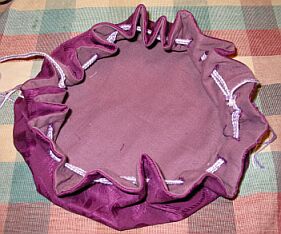
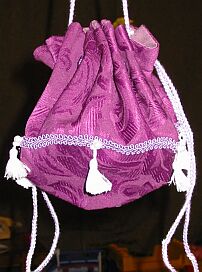
8. Left: the pouch with the drawstring pulled together.
The drawstring used to open and close the pouch is separate
to the cord used to hang the pouch from the belt.
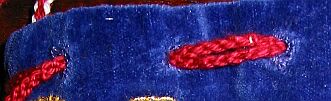
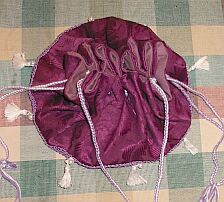
Left: another pouch I have made.
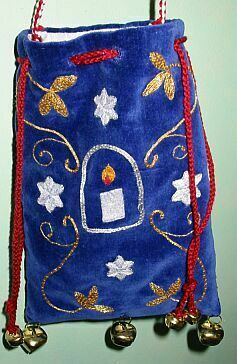
Lochac A&S Championship pouch XXXVIII. (velveteen with linen lining).
This is shown in the final picture of this pouch. Below.